
 By Admin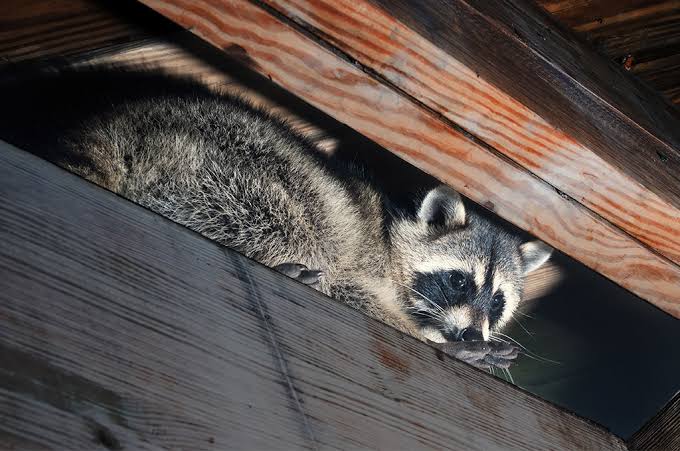
Last updated: September 10, 2026
Key Takeaways
- Multiple weak spots over 20 to 30 feet of eave line? Then this is usually no simple one-afternoon job for a homeowner.
- Inside the attic, watch for droppings, shredded insulation, daylight, grease marks, or gnawed wood.
- Check that the attic still has its designed intake and exhaust path.
- Look twice: inspect the exterior patch, then go back inside during daylight.
Table of Contents
- Who this applies to, and what you need to know first
- What usually gets wildlife into a roof?
- Which parts of the roof should I inspect first?
- How do I seal attic and roof entry points without making new problems?
- The mistakes people actually make, and what they cost
- When should I stop and call someone else?
- What counts as a real fix, and how do I know the job is done?
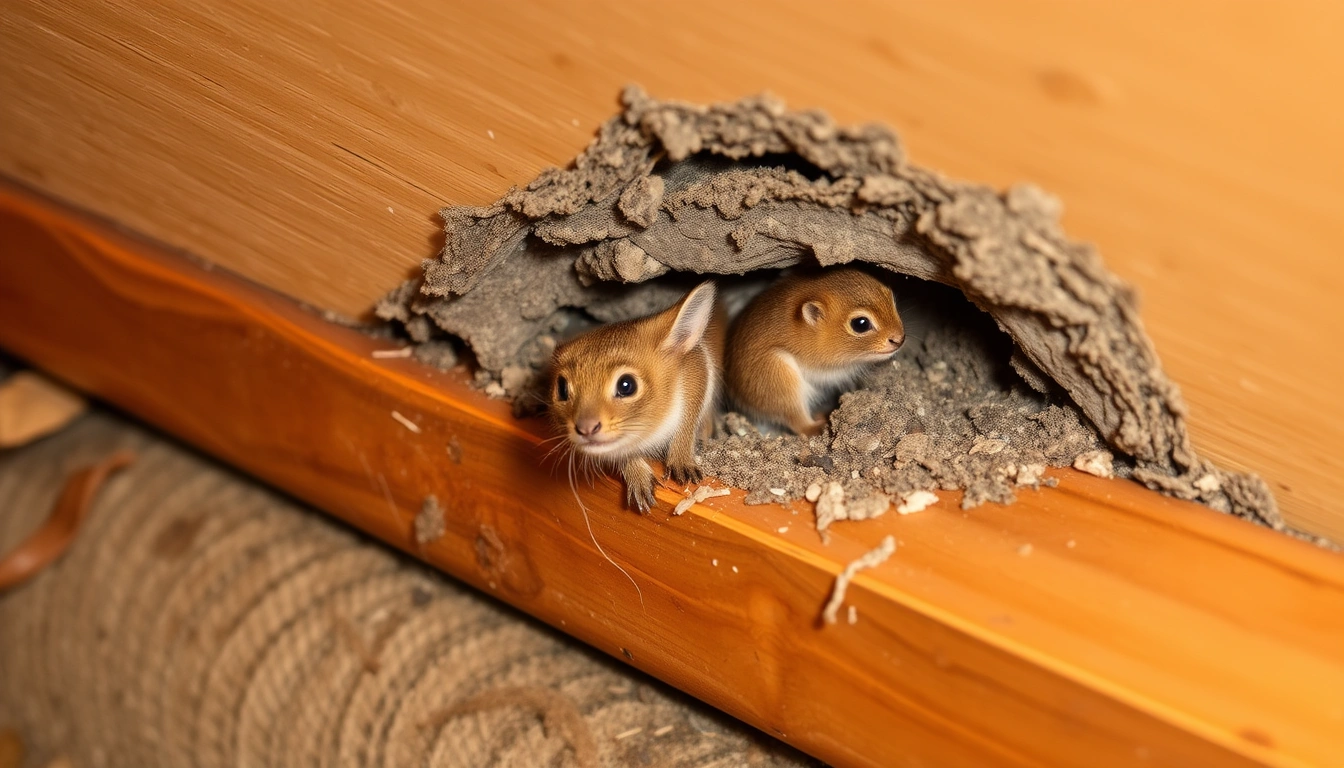
Wildlife slips into attics and roof spaces through gaps that look almost laughable: a lifted shingle, a soffit corner, a vent screen with a broken seam, a 1/2-inch crack at the roof edge, or a chimney cap that no longer fits. One tiny seam. That’s enough. In attic roof vulnerabilities that let wildlife in, the real task is finding every entry point the roof system exposes, not just the hole that made the noise.
Who this applies to, and what you need to know first
This applies if you own or manage a house with an attic, a vented roof, or a crawlspace-to-attic air path, and you suspect raccoons, squirrels, bats, mice, rats, birds, or opossums have found their way in. I am assuming you can safely look from the ground, use a flashlight, and recognize basic roof parts like soffits, fascia, ridge vents, gable vents, and plumbing stacks. If you cannot safely reach the roof edge, consult a roofing or wildlife professional; ladder work is not the right call.
Not for every situation, though. Dead animals in the attic, a strong ammonia odor from heavy droppings, major water damage, or a known bat colony are different problems. Bat exclusion, in particular, has timing and wildlife-law issues in many places, and the wrong move can trap animals inside or leave pups behind. If you suspect bats, a wildlife control operator or pest professional who handles bat exclusion is the right route, not a generic seal-it-up approach. Same story with large roof damage, sagging decking, or active leak repair beyond a simple flashing gap.
The basic assumption here is simple: you want to prevent entry, not just chase an animal out once. That means a full exterior inspection, not a guess based on the loudest thump in the ceiling. Honestly, that’s where a lot of people go sideways. A proper wildlife-proofing job usually ends up being a mix of sealing, screening, and repair using materials that can stand up to chewing and clawing.
What usually gets wildlife into a roof?
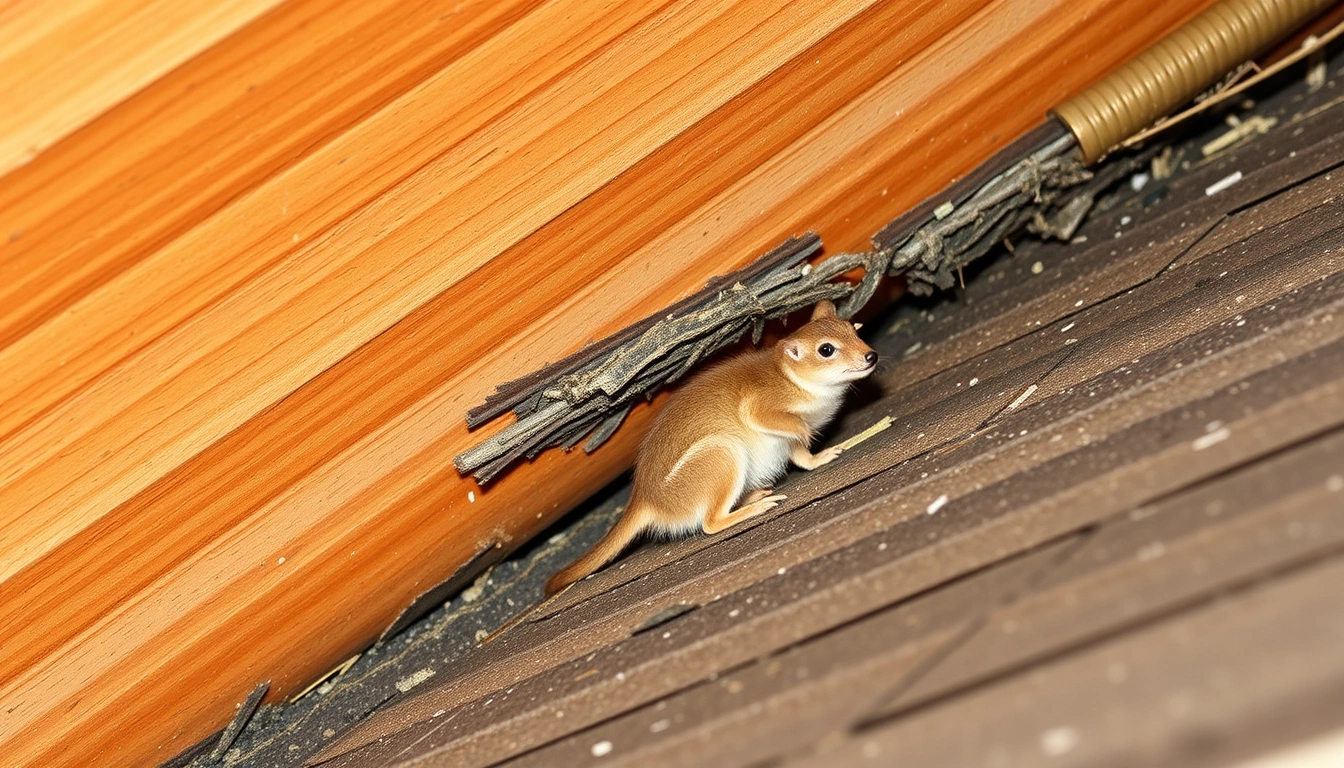
Wildlife usually gets in where the roof assembly already has a job: ventilation, drainage, or expansion joints. Animals do not need a dramatic opening. A squirrel can exploit a loose soffit panel, a raccoon can pull on a weak fascia board, and a mouse can use a gap around a utility penetration that is far smaller than a thumb. As a rule, if daylight, airflow, or moisture can move through a spot, an animal may be able to use it too.
The usual weak points are pretty predictable. Ridge vents can separate from the shingles below them. Continuous soffit vents can be left with damaged screening or open ends. Gable vents often have thin aluminum mesh that birds, squirrels, and bats can disturb. Roof-to-wall intersections can have lifted flashing or a gap behind a siding return. Chimneys without a tight, properly sized cap are classic access points. Plumbing vent boots crack with age, and once a boot splits, the opening becomes a traffic lane for insects, then rodents, then larger animals looking for a warm cavity.
I would pay special attention to any place where two materials meet. That includes the joint between roof decking and fascia, the seam around dormer siding, and the corner where a valley flashing ends. Wildlife does not need a neat hole; it needs a weak edge. If the house has wood trim older than about 15 years, or any section that has seen repeated repainting, warping and shrinkage often create the kind of line that raccoons notice before a homeowner does.
One more thing: some “repairs” create new openings. Clogged gutters can rot the fascia. Half-fixed soffits can leave a loose panel with a lip animals can pry. Foam-only patching around a utility line does not hold up against chewing. Roof maintenance first, animal problem second. That’s the order.
Which parts of the roof should I inspect first?
Start with the roof edges, vents, and penetrations. Those are the places where most wildlife entries begin, and they’re also the easiest to miss from below. Use binoculars from the ground if you have them. Then move to a ladder only if the slope and height are manageable. If the roof is steep, slick, or above a single-story edge you are comfortable with, stop there and inspect from the attic instead.
According to the Humane Society of the United States, squirrels can enter through openings as small as about 1.5 inches, and mice can fit through gaps around 1/4 inch. That is why the small stuff matters. A tiny seam can still be a real attic roof vulnerability that lets wildlife in.
Look in this order:
- Soffits: Check every vented soffit run for torn screening, open corners, water staining, or panels pushed up by an animal. Make sure the soffit sits flush and the vent openings are intact. Any gap wide enough to show daylight is a problem, and so is any panel that flexes when pressed.
- Fascia and roof edge: Inspect the board or trim behind the gutter, especially at corners and joints. Make sure there is no rot, split wood, or lifting metal. Soft wood, a visible seam, or chewed edges often point to raccoons or squirrels prying at the edge.
- Ridge vent: Check the full ridge line for lifted cap shingles, broken vent material, or exposed fasteners. Make sure the ridge vent sits flat and continuous. A section that flaps, has open ends, or lets birds perch inside the opening is bad news.
- Gable vents: Inspect the screening and the frame. Make sure the screen is metal and firmly fastened. Plastic mesh, rust holes, or a vent large enough for a squirrel to nose through after chewing are all trouble.
- Roof penetrations: Examine plumbing vents, exhaust fans, satellite mounts, and antenna brackets. Make sure boots and flashings seal tightly to the roof surface. Cracked rubber, loose sealant, or gaps around fasteners count as a problem.
- Chimney cap and crown: Check that the cap fits over the flue properly and that the crown is not cracked. Make sure the mesh is welded metal, not lightweight cloth or expanded plastic. A missing cap or bent screen larger than about 1/2 inch is an opening waiting to be used.
- Valleys and step flashing: Look where roof planes meet walls or dormers. Make sure the flashing is tucked and not lifted. Exposed underlayment, rust, or a gap at the uphill end of the flashing is a problem.
- Attic-side clues: From inside, look for droppings, shredded insulation, daylight, grease marks, or gnawed wood. Check whether the sign lines up with a roof opening outside. No clear exit? Then there is often more than one hole.
Alignment is the key check. Droppings under a gable end, or shredded insulation near a soffit bay, usually point straight to the entry above or beside that sign — not to some random spot on the roof. If the clue does not map to the outside, keep inspecting instead of sealing the first obvious crack. Patience here saves a headache later.
How do I seal attic and roof entry points without making new problems?
Close the access route with the right material for the right opening, then confirm that the roof still sheds water and vents properly. A wildlife-proof patch is not the same thing as a caulk touch-up. Wrong material, wrong job. It can trap moisture, break loose, or invite a bigger chew-back later.
Here is the sequence I would follow:
- Confirm the species and the opening size: Measure the gap. A mouse needs very little; a squirrel or raccoon needs a structural weakness; a bat can fit through a surprisingly small crevice. Check whether the opening is a hole, a gap, a lifted edge, or a broken screen. Sealing before you know what moved through it is a problem, because the fix may need a one-way exclusion method instead of immediate closure.
- Remove nesting material and debris: Clean out loose insulation, sticks, leaves, and droppings with gloves and a bag, and avoid disturbing heavy droppings with dry sweeping. Clear the cavity enough to see the framing and the actual breach. Leave the nest material behind, and animals often come right back for the scent and texture.
- Use hardware cloth for vents and openings animals can reach: Fit galvanized hardware cloth, typically 1/4-inch mesh for small openings and stronger welded mesh for larger exposed areas. Screw or staple it with washers to solid framing, not just stretched over trim. Window screen or plastic mesh fails fast against teeth and claws.
- Replace damaged vent covers or caps: Install a properly sized chimney cap or vent cover made for the opening. There should be no side gap, and the cover should not lift by hand. A loose cap is an invitation; raccoons and squirrels exploit anything they can pry.
- Repair rotten wood before final sealing: Cut out soft fascia, soffit, or trim and replace it with sound lumber or equivalent exterior material. The replacement needs firm fasteners. Caulking over decay is a bad bargain; the patch may look shut while still failing under pressure.
- Use sealant only as a finish, not the structure: Apply exterior-grade sealant at joints and fastener heads after the mechanical repair is complete. The seam should be continuous but not bridging a moving gap that will split later. Relying on caulk alone for a 1/4-inch-plus opening is asking for trouble.
- Restore ventilation paths deliberately: Keep soffit-to-ridge airflow open where the roof was designed to breathe, and do not block vents with insulation or foil-faced patches. Verify the attic still has its designed intake and exhaust path. Over-sealing can trap heat and moisture, and then the roof deck starts paying for it.
- Recheck from both sides: Inspect the exterior patch and then check inside the attic during daylight. Make sure there is no light, draft, or movement at the repaired area. Assuming the first patch held when a second seam is still open nearby is a classic miss.
I would choose mechanical fastening over adhesive whenever an animal can reach the repair. Chewing and pulling beat glue over time. For a big opening, a temporary one-way exclusion can be appropriate if animals are still inside, but only if you are sure no young are trapped. That is where generic advice falls apart: it tells people to seal first and ask questions later, which can make the problem worse. When in doubt, call a wildlife professional before closing the opening.
The mistakes people actually make, and what they cost
The most common mistake is sealing only the visible hole. That costs you a repeat entry from the second gap, which is usually only a few feet away. Wildlife follows structure, so if a squirrel got in at a soffit corner, I would inspect the entire eave line before calling the job done.
Another mistake is using foam, painter’s caulk, or duct tape as if they were exclusion materials. Foam is easy to chew, caulk splits, and tape fails in heat and cold. Metal mesh or a purpose-built cap fastened into sound framing is the better route, with sealant used only to weatherproof the edge.
A third error is ignoring the roof edge because the attic sign is in the middle of the house. Droppings in one bay do not mean the animal entered there; it may have walked through the attic after entering at a gable vent or chimney. Trace the sign back to the outside perimeter and inspect the whole path. Otherwise you’re guessing.
A fourth mistake is blocking vents with insulation batts, bird netting, or solid patches. That can stop wildlife and also stop airflow, which leads to moisture condensation, mold risk, and roof deck rot. If the opening is part of the roof’s ventilation design, the fix has to preserve that function. The alternative is a screened vent or a baffle system that keeps the air path open.
A fifth mistake is delaying repair after the animal is gone. Openings do not get better on their own. Wind-driven rain, nesting debris, and temperature swings enlarge them. I would treat any confirmed entry point as a roof repair item, not a nuisance to revisit later, and I would have a contractor confirm the fix if the damaged area is beyond simple trim work.
When should I stop and call someone else?
Stop when the problem stops being a patch job and becomes an animal-removal or roofing job.
Bats are present or strongly suspected: This may require timed exclusion and species-aware handling — Do not seal random openings until you know all bats are out and local rules allow exclusion; many regions restrict work during maternity periods.
You see young animals, nesting, or repeated vocalizing in one cavity: The animal may be using the attic as a den — Do not close the opening until the young are accounted for; a trapped litter creates odor, carcass, and secondary-infestation problems.
The roof is steep, high, wet, or damaged: Fall risk is higher than the repair value — Stay off the roof and inspect from the ground or attic; use a roofing contractor if the edge, flashing, or deck looks compromised.
There is rot, sagging, or soft decking: The problem is structural, not cosmetic — Do not fasten over decay; a roofer or carpenter should replace bad substrate before any wildlife exclusion work.
You find extensive droppings, insulation contamination, or strong ammonia odor: The attic may need cleanup and respiratory precautions — Do not stir it up with dry sweeping; a remediation pro or wildlife specialist can handle removal and decontamination.
Repeated entry keeps happening after two careful repairs: The opening search is incomplete — Stop patching one spot at a time and do a full perimeter survey, or bring in a wildlife exclusion specialist who will trace every likely route.
If multiple vulnerable points run over 20 to 30 feet of eave line, the job often stops being simple enough for one homeowner afternoon. At that point, the next step is not more caulk. It is a systematic exclusion plan.
What counts as a real fix, and how do I know the job is done?
A real fix closes the entry point, preserves roof function, and leaves no easy alternate route. I would consider the work successful only if the outside repair is mechanically secure, or if a qualified roofing or wildlife professional confirms it is secure, because simple sealant alone is not enough where animals can reach the repair. You also need at least one daylight reinspection from the attic and one exterior look at the patch after a rain or wind event. In practical terms, if the gap is still visible, still flexible, or still connected to the attic air path in the wrong place, the job is not done.
I would also look for a clean return to normal conditions. No fresh droppings. No gnaw marks. No rustling at night, and no new light showing through the same seam. If the area was screened or capped, the fasteners should stay tight after a few days of weather. A repair that holds for 24 hours but loosens after the first storm is not a real fix.
For attic roof vulnerabilities that let wildlife in, the final test is whether the house still ventilates and sheds water while the access route stays closed. If the answer is yes, the exclusion work is probably sound. If not, the opening is still a roof problem, not just an animal problem.