
 By Admin
Last updated: September 10, 2026
Key Takeaways
- For how to identify and remove dead animals in a wall or crawl space, the second job can turn into a 6–8 hour cleanup with PPE, containment, and odor treatment if contamination spreads.
- Close windows, turn off fans, and wait 10 minutes so air movement does not fool you.
- Let the disinfectant sit for its labeled contact time, often 5 to 10 minutes.
- Keep a fan or dehumidifier on the area for 24 to 48 hours if access allows.
A sharp, rotten smell in one room is not subtle. You may also hear flies at a wall or spot a sudden cluster of maggots in a crawl space; usually, that points to a dead animal hidden in a wall cavity, floor void, attic chase, or crawl space. This guide on how to identify and remove dead animals in a wall or crawl space shows how to track the source, remove it safely, clean the contamination, and seal the entry so it does not happen again.
Who this applies to — and who should do something else
This is for a homeowner or tenant facing the classic signs of carrion odor in a house: a strong smell that gets worse in warm weather, insect activity around one wall, or a localized odor near a crawl space access door, pipe penetration, or floor register. It assumes you can open an access panel, use a flashlight, wear gloves, and handle a basic cleanup job. It also assumes the animal is small enough that removal does not require demolition on the scale of a wall section or subfloor replacement.
I would not treat this as a do-it-yourself job if the carcass is likely from a raccoon, skunk, opossum, or bat colony, or if the area is contaminated with heavy droppings. Those situations can bring rabies risk, a heavy parasite load, or a full guano cleanup that calls for a nuisance-wildlife operator or remediation contractor. In a crawl space, I would also stop if you see active mold, standing water, or insulation saturated with fluids. A dead mouse behind drywall is one thing; a dead raccoon under a house with a damaged vapor barrier is another. Depending on the size of the animal and the extent of contamination, the job can take 6 to 8 hours with PPE, containment, and odor treatment. Slow work. But cleaner work.
The basic assumption is simple: you know the smell is real, you have narrowed it to a wall or crawl space, and you want to remove the source without tearing apart half the house. Ordinary tools do the job: flashlight, nitrile or rubber gloves, a respirator rated N95 or better, garbage bags, paper towels, a plastic scraper, disinfectant, and a way to seal entry points afterward. If you cannot reach the area safely, the right move is not to keep digging blind. Don’t.
How do I tell if there is really a dead animal in the wall?
Smell, timing, and behavior usually give it away. A dead animal odor is often strongest 2 to 7 days after death, then fades over 1 to 3 weeks as the body dries out, though that timeline shifts with temperature and animal size. The smell is not like sewer gas or mold; it is rancid, sweet, and sulfur-like rather than earthy or musty. If the odor rises and falls with temperature or when the HVAC blower starts, the carcass may be in a wall cavity connected to duct leakage or a return chase.
Look for supporting signs before opening anything. Fly activity near one baseboard, a single wall outlet, or a crawl space vent is a common clue. So is staining on drywall, a drip line below a baseboard, or a patch of insulation that looks compressed or damp. If you heard scratching before the smell began, an animal may have died in place after getting trapped. And if the odor is isolated to one floor or one corner of a room, that narrows the search to a 2- to 4-foot section of wall or the joist bay below.
Not every bad smell is a carcass. A failed wax ring, a cracked drain line, an overflowing trap, or rodent urine in insulation can mimic parts of the odor. That matters because cutting drywall for the wrong reason creates more work and more odor, not less. The better test is location: the smell should strengthen as you move closer, and the wall with the carcass usually hits harder on smell alone than the surrounding area. Like a cheap sock left in a hot car, it gets worse fast.
If you can access the attic or crawl space, use your nose as a map. Stand at the perimeter, then move in 2-foot increments toward the strongest point. Mark the strongest zone with painter’s tape. That simple triangulation is often more useful than guessing from the living room.
Find the source before you cut anything
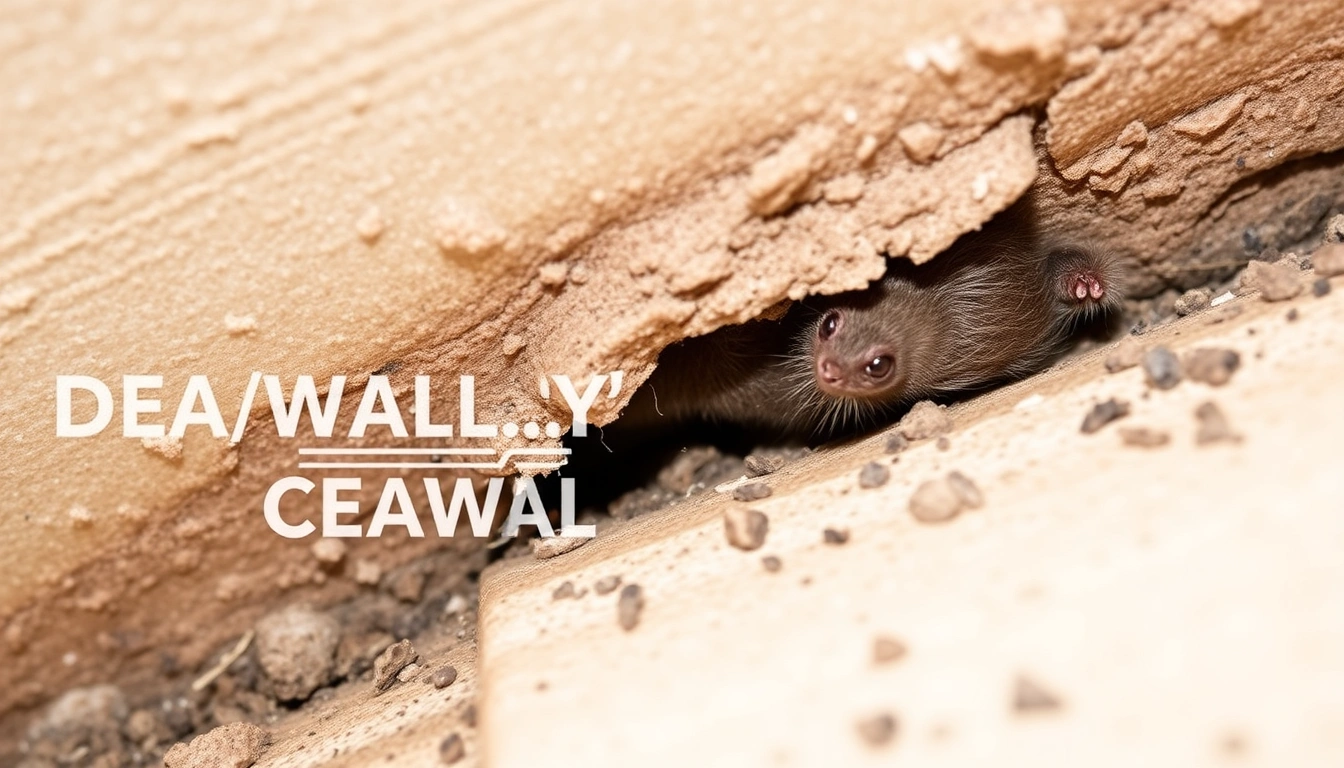
A flashlight, a tape measure, and a few minutes of patience are enough to start. Before you cut drywall, check from the crawl space, attic, or basement side; access from below or above often saves a clean wall repair. In a crawl space, inspect along the sill plate, around plumbing penetrations, and near insulation hangs. In a wall, check outlets, baseboards, vents, and any spot where an animal could have entered through a gap smaller than 1/2 inch, which is enough for mice and some juvenile rats.
The practical method is to isolate the odor zone. Close windows, turn off fans, and wait 10 minutes so air movement does not fool you. Then move slowly around the suspect area and note the strongest point. If you have a borescope or inspection camera, a 1/4-inch hole made high on the wall can confirm a cavity without a large opening. The camera should show dark, still insulation, droppings, staining, or the body itself. If you see clean insulation and no stain, the source may be elsewhere.
I would choose the smallest opening that gives access. A 2-inch inspection hole is usually better than a 12-inch cut when you are not sure of the exact cavity. If the animal is behind a baseboard, removing a section of trim may reveal enough to work through. If it is under a floor register or crawl space subfloor, the access path from below is often cleaner than cutting drywall from the room side.
Heat changes the picture. A dead animal near a warm duct, furnace plenum, or sunlit wall cavity can smell far worse than one in a cool space. In some wall cavities, odor does not always mean a large animal or deep contamination. A mouse in a narrow chase can smell more offensive than a larger animal in an open crawl space because the cavity traps the gases.
How do I remove a dead animal from a wall or crawl space?
Open the smallest safe access point, lift the carcass out with gloved hands or tools, bag it twice, and disinfect the area before you seal it. The basic gear is an N95 respirator, nitrile gloves under heavier work gloves, eye protection, contractor bags, disposable towels, and a disinfectant labeled for blood and body fluid cleanup or a 10% bleach solution used only on hard, nonporous surfaces. I would avoid dry sweeping or vacuuming carcass residue; that stirs contamination and spreads odor. Ugly job. Short answer.
- Shut off the HVAC zone or blower serving that area: Turn off the system before opening the wall or crawl space so odor and particles do not move through ducts. Verify that air is still by checking a tissue at the supply grille. If the tissue moves, the system is still pushing air and you may spread smell through the house.
- Wear PPE before you touch the area: Put on an N95 or better respirator, nitrile gloves, eye protection, and long sleeves. Verify that no skin is exposed at the wrists or forearms. If gloves tear easily or fit loosely, swap them before you start.
- Open the access point as small as possible: Cut only enough drywall, trim, or subfloor to reach the cavity, usually a 2- to 6-inch opening at first. Verify with a flashlight or borescope that you are in the right bay. If you see clean insulation only, stop and reassess instead of enlarging the opening blindly.
- Remove the carcass with a tool, not bare contact: Use tongs, a hooked tool, or gloved hands to lift the body into a doubled trash bag. Verify that no fluid drains into insulation or framing. If the carcass falls apart, treat the area as contaminated, and if the material is extensive or the species is uncertain, consult a professional to collect visible tissue and debris.
- Bag and seal immediately: Double-bag the remains, twist each bag shut, and tape the top if needed. Verify there are no punctures. A punctured bag means the entire outside surface may be contaminated and should be re-bagged.
- Clean the contact area: Wipe hard surfaces with detergent first, then disinfect. Let the disinfectant sit for its labeled contact time, often 5 to 10 minutes. Verify that the surface is visibly clean, not just sprayed. If the material is porous insulation or raw wood soaked with fluid, cleaning alone may not remove odor.
- Remove soaked porous material if needed: Cut out stained insulation, contaminated cardboard, or heavily soaked drywall at least 6 inches beyond visible staining. Verify that remaining material is dry and not discolored. If odor persists after drying, more material may need to come out.
- Seal the entry point after cleanup: Close gaps with copper mesh, hardware cloth, steel wool used as a backing, foam only where appropriate, and a proper sealant over it. Verify that openings larger than 1/4 inch are closed. If you leave the entry open, another animal can replace the first one.
For a crawl space, work in sections of 4 to 6 feet so you do not miss the source under insulation. For a wall, use a plastic sheet below the work area if you expect debris. If the carcass is in loose insulation and not visible, gently part the insulation with a gloved hand or rake-like tool; do not dig aggressively. A bad sign is a wet spot spreading beyond the body or a swarm of flies coming from the cavity, which usually means the carcass is larger or farther decomposed than expected.
If you are dealing with a mouse or rat, this is often a 20- to 45-minute removal once the opening is made. If it is a larger animal, the job can take longer because the cavity may hold fluids, insect larvae, and contaminated insulation. That is one reason many homeowners consult a professional when the source is not immediately visible.
What should I clean, and what can I leave alone?
Clean every surface the carcass touched, but you do not need to demolish the whole wall or crawl space. That distinction matters. The goal is to remove the source, sanitize the contact area, and replace only the material that absorbed fluid or odor. On hard surfaces such as framing lumber, concrete, metal, or PVC, cleaning is usually enough if the contamination is light. On insulation, cardboard backing, fabric-backed duct wrap, or drywall with staining, removal is often the better choice.
A common mistake is spraying deodorizer on top of contamination and calling it done. That only masks the smell for a day or two. Another mistake is overusing bleach on porous wood. Bleach is useful on hard, nonporous surfaces, but it does not penetrate well into absorbent material and can leave a stronger chemical smell in a confined cavity. Enzyme cleaners can help with organic residue, but they are not a substitute for physical removal of tissues and stained material.
I would clean in this order: dry removal of solids, detergent wash, disinfectant, then drying. Keep a fan or dehumidifier on the area for 24 to 48 hours if access allows. Drying matters because odor compounds linger in moisture. In a crawl space, vapor barrier damage and damp soil can keep smell around longer than the carcass itself. For remediation guidance, the EPA and CDC both recommend removing contaminated material and drying the area thoroughly after cleanup. EPA mold cleanup guidance and CDC cleaning and disinfection guidance are useful references for the cleanup and hygiene steps.
Do not forget the air path around it. If the animal was in a wall near a return grille or duct boot, wipe the nearby grille, register cover, and accessible duct face. If the carcass was in a crawl space under a bathroom, check for trapped odor around pipe penetrations and the underside of subfloor sheathing. A good result is not “the smell is mostly gone.” It is that the room smells normal when closed up for several hours.
When should I stop and get help instead?
Stop when the job stops being a simple carcass removal and turns into wildlife control, structural repair, or hazardous cleanup. The point is not fear; it is recognizing when a small opening becomes the wrong tool.
Raccoon, bat, or skunk signs are present: These animals raise rabies, spray, or guano concerns, and the contamination can extend farther than the visible opening — Stop and call a licensed wildlife or remediation professional.
There are many droppings, not just a carcass: Heavy rodent feces in a wall or crawl space can mean an active infestation and broader sanitation issues — Remove the carcass only if it is safely reachable, then bring in pest control.
The body is in insulation saturated with fluid: Odor has likely soaked material beyond the carcass itself — Expect partial demolition and replacement, not just extraction.
You cannot confirm the source within one access point: Blind cutting can create multiple openings and still miss the body — Use a borescope or stop and reassess from the attic/crawl space side.
You smell it in multiple rooms or ducts: The source may be in an HVAC chase, a return, or more than one cavity — Shut the system off and get help tracing the path.
The carcass is under a slab, inside a sealed chase, or behind tile: Those locations often require demolition and restoration beyond a normal homeowner repair — Do not keep cutting without a plan.
I would also stop if the odor is making anyone nauseated, short of breath, or unable to stay in the room for even a few minutes. That is a practical limit, not drama. A 10-minute exposure is enough to tell you the work is beyond what you should tolerate in an unventilated crawl space.
What are the most common mistakes people make?
The biggest mistake is cutting the wall too early. People see one smell source and open a large hole before confirming the cavity. The consequence is extra drywall repair and no guarantee they found the body. Better: a 2-inch inspection hole or a borescope first.
Another mistake is removing the carcass but leaving soaked insulation in place. The smell can linger for weeks because the insulation acts like a sponge. The correct approach is to remove only the contaminated insulation, not every piece of material in the wall.
People also underestimate how long odor can hang around in a crawl space. If the soil is damp, the vapor barrier is torn, or the space has poor airflow, odor can persist after the body is gone. That is why ventilation, drying, and sealing the entry point matter as much as removal itself. Half-done cleanup is a boomerang.
A final mistake is sealing too soon. If you close the cavity before it is dry and clean, you trap the smell inside. Give the area time to dry, confirm the odor is dropping, and then patch the opening. If you are not sure the source is fully removed, it is better to keep the access open for one more day than to seal in a problem.
How much does it cost and what affects the price?
The cost depends on access, species, contamination, and whether cleanup stays localized or turns into demolition. A simple mouse or rat removal from an accessible wall cavity may cost little more than materials if you do it yourself. A professional callout often starts with a trip charge or inspection fee, and the price rises if the contractor has to cut and patch drywall, remove insulation, sanitize framing, and deodorize the space. Larger animals usually cost more because the body is bigger, the odor stronger, and the cleanup broader.
Several factors affect the price. Crawl space height matters because a tight crawl means more labor. Wall finish matters because plaster, tile, or paneling takes longer to open and repair than standard drywall. Duct proximity matters because HVAC contamination can spread odor into multiple rooms. Moisture matters too: if the area has mold, standing water, or damaged insulation, the bill can jump from removal to remediation.
Because of that, two jobs that both start as “dead animal in the wall” can end very differently. One may be a 1-hour inspection and a small patch. Another may become a 6- to 8-hour cleanup with PPE, containment, disposal, and odor treatment. If you want a precise number, ask for an inspection-based estimate that separates removal, cleaning, patching, and odor treatment.
Why it is worth doing
Once the carcass is out, the benefit is immediate: the smell drops, insects leave, and the room becomes usable again. That is the obvious reason. The less obvious one is that prompt removal can prevent more damage to insulation, drywall, subflooring, and air quality. The longer a carcass stays in place, the more likely it is to spread fluids, attract flies, and force a larger repair.
There is also a safety payoff. A hidden carcass can sit next to wiring, ductwork, or a return chase and create a nuisance that keeps recurring until the cavity is cleaned and sealed. If you remove it correctly, you reduce the chance of repeat odor and block the same entry point that let the animal in. That is why sealing gaps after cleanup matters as much as the removal itself.
For many homes, the work is less about a dramatic repair and more about restoring normal conditions. A crawl space or wall cavity that is dry, cleaned, and sealed is usually the difference between a lingering smell and a house that feels normal again.