
 By Admin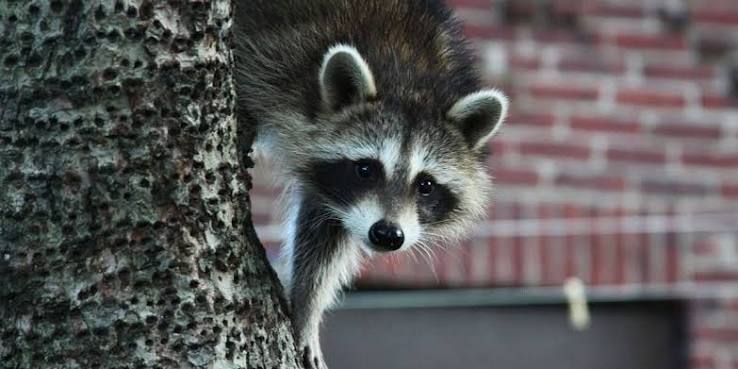
Last updated: September 10, 2026
Key Takeaways
- That is what success looks like.
- Wildlife exclusion is a building repair strategy, not just a pest-control tactic.
- It does not assume you should handle everything yourself.
- Exclusion is the right fix when the structure is the problem, not just the animal.
- Quick Answer: what is wildlife exclusion when do you need it? It is the process of sealing entry points so animals can leave but not re-enter, and you need it when a building has repeated wildlife access or signs of infestation.
Wildlife exclusion means stopping animals from getting back into a building by closing entry points, fixing the access route, and making the structure hard to re-enter. In what is wildlife exclusion when do you need it? terms, it is the long-term fix when raccoons, squirrels, bats, mice, or birds are getting into an attic, crawlspace, wall, or soffit; traps alone are not. For a mouse, an opening of about 1/4 inch can be enough; for a rat, about 1/2 inch can be enough.
What wildlife exclusion means in the real world
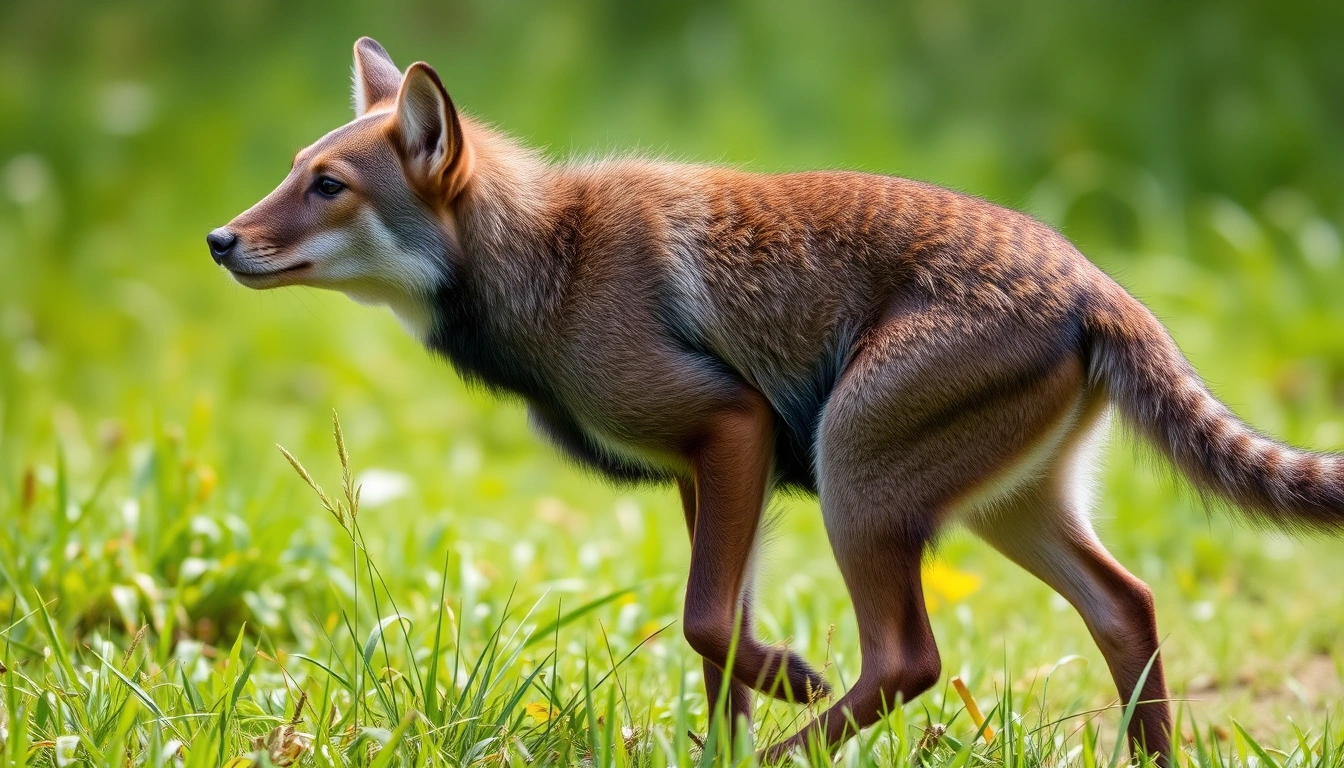
Wildlife exclusion is a building repair strategy, not just a pest-control tactic. It means figuring out how the animal got in, closing every usable gap, and then making sure any animal already inside can leave without coming back. The technical term you will hear is one-way exclusion device: a cone, tube, or flap that lets an animal exit through a hole but prevents re-entry. A good exclusion job often uses that tool once the young are gone or the animal is confirmed out. Bats change the equation. If bats may be present, if the animal is acting strangely, or if the opening is hard to reach, consult a professional and check local guidance from a wildlife agency or extension service before sealing anything. The Humane Society of the United States and Bat Conservation International both advise extra caution with bat exclusion.
This applies to homeowners, landlords, property managers, and anyone with repeated signs of animal entry: scratching in walls, droppings in insulation, torn vent screens, bent roof edges, greasy rub marks, or a bad odor from a dead animal. It assumes you can inspect safely from the ground, a ladder, or a small access opening, and that you know the difference between a sealing job and a cleanup job. It does not assume you should handle everything yourself.
I would not treat exclusion as a DIY project when bats may be present, when an animal is acting strangely, when you suspect rabies exposure, or when the opening is on a steep roof, chimney, high fascia, or utility line. Those situations can turn into safety problems fast, and the wrong seal-up can trap animals inside and make the damage worse. If you are dealing with active nesting season, a protected species, or a place you cannot inspect fully, consult a professional; state wildlife agencies and Cornell Wildlife Health Lab guidance both recommend caution in those cases. Ugly job, sometimes. Better to pause than guess.
How do I know if exclusion is the right fix?
Exclusion is the right fix when the structure is the problem, not just the animal. If a raccoon keeps entering through the same soffit gap, or mice are using a half-inch crack around a pipe, closing the access point solves the root cause. If the issue is a one-time animal in a garage with the door left open, exclusion is overkill; a behavior change or simple repair may be enough.
The signs that point to exclusion are fairly specific. Repeated noises in the same area, especially at dusk or dawn, suggest a den or nest site. Fresh droppings concentrated under one roofline, a torn attic vent, or shredded insulation near a pipe chase suggest a usable route. Chewed wood, bent aluminum flashing, and dark smudges around a hole often mean the animal is rubbing the same entrance over and over. Same story, different clue.
The key distinction is this: trapping removes the animal, exclusion removes the invitation. A generic article often blurs that line and makes “animal control” sound like one step. It is not. Without sealing the entry, many species will come back to the same opening within days. The National Wildlife Control Operators Association describes exclusion as a core part of long-term control, not a stand-alone trap job.
Exclusion is also the right answer when you want to prevent repeat damage. One squirrel in an attic can become a larger repair problem if it chews insulation, gnaws wiring, or widens a small hole to a much larger one. A mouse can pass through an opening roughly 1/4 inch wide; a rat needs about 1/2 inch. Those figures are useful because they explain why a hole that looks minor can still be enough.
If you have already removed animals but never sealed the gap, you do not have a finished job. You have a temporary pause.
What should I inspect before I seal anything?
You should inspect the full building envelope before you close a single gap. That means the roofline, soffits, ridge vents, gable vents, chimney edges, dryer vents, pipe penetrations, foundation cracks, crawlspace doors, and utility entry points. On a typical house, I would expect more than one vulnerable spot, not just the one you noticed first.
Start from the outside and work in a loop. Look for active sign: fresh droppings, new gnawing, greasy marks, feathers, nesting material, or disturbance in insulation near the suspected entry. Then look for structure: missing screen mesh, split trim boards, lifted flashing, rotten fascia, broken louvered vents, or gaps where different materials meet. A 1-inch hole can be enough for many larger nuisance animals; a loose vent cover can be more inviting than a visible crack. Sneaky little openings hide in plain sight.
The most useful tool here is not a trap. It is a flashlight, a ladder used safely, and patience. Photograph each suspect opening so you can compare later. If you seal blindly, you risk trapping an animal inside, pushing it into another room, or forcing it to chew a new exit through drywall, roof decking, or ductwork.
What I would verify before moving on is simple: whether the sign is fresh, whether the opening is truly active, and whether there are young involved. If you hear repeated vocalization from one point, see a nest, or notice a strong odor in warm weather, stop and reassess. Those clues can mean the animal is inside the wall or attic, and a seal-up may be the wrong next move.
A good inspection also includes the lower half of the building. Crawlspace vents, damaged foundation vents, gaps under porch steps, and uncapped utility chases are easy to miss. Many problems are not dramatic roof breaches; they are small, low openings that stay hidden until you crawl around the perimeter.
How do you do wildlife exclusion step by step?
You do it by finding every access point, letting any animal exit safely, and then sealing the structure with materials that match the size and strength of the species. A proper exclusion job usually takes multiple visits, not one quick pass.
- Map every opening larger than 1/4 inch. Walk the entire exterior and mark each gap with tape or chalk; verify that you have checked roof edges, vents, and all utility penetrations; a problem is any opening you cannot see clearly or reach safely.
- Identify the likely species. Use the sign: droppings, size of hole, nesting material, scratch marks, and time of activity; verify whether it is mouse, rat, squirrel, raccoon, bat, bird, or skunk; a problem is assuming the species and using the wrong method.
- Confirm whether animals are still inside. Listen at dusk and early morning for movement, and look for fresh debris below the opening for 1 to 3 days; verify that activity is declining; a problem is persistent noise, which suggests you should not seal yet.
- Install a one-way exclusion device where appropriate. Fit the device over the active exit so animals can leave but not re-enter; if the opening is difficult to assess, consult a professional and follow manufacturer instructions or local wildlife guidance; verify that it is secured on all edges and covers the full opening; a problem is any side gap that lets a small animal squeeze around it.
- Seal all secondary gaps with species-appropriate materials. Use 1/4-inch galvanized hardware cloth, heavy-gauge sheet metal, or metal flashing for vulnerable spots; verify that seams overlap and fasteners bite into solid framing; a problem is foam alone, which many animals chew through.
- Leave the device in place long enough for the animal to clear out. For small mammals, that may be several days; for larger den sites, longer; verify that no fresh sign appears at the entry point; a problem is removing the device too early and inviting re-entry.
- Remove the one-way device and close the final opening. Once activity stops, permanently seal the exit with the same durable material as the rest of the repair; verify a flush fit with no light showing through; a problem is leaving the hole “temporarily” covered with tape or loose mesh.
- Inspect inside for contamination and damage. Check insulation, wiring, ductwork, and droppings; verify whether cleanup or repair is needed before closing access panels; a problem is sealing in odor, urine, or a dead animal, which can create a much bigger issue. Consult a professional if the contamination is extensive or there is any sign of disease.
The exact material depends on the species and setting. Small gaps often need galvanized hardware cloth with openings no larger than 1/4 inch. Larger chew-prone areas may need sheet metal or professionally fitted flashing. Foam sealant can be useful as a filler, but it is not the structural barrier. If you rely on foam alone, expect a return visit from the same animal or a larger one.
The result you want is boring: no new droppings, no fresh scratching, no daylight at the seam, and no obvious weak spot left behind. That is what success looks like.
When should I stop and get qualified help?
You should stop when the job moves from sealing gaps to handling live animals, protected species, or unsafe access. Wildlife exclusion is a building task only up to the point where biology and safety take over.
Bats are suspected: Bat exclusion is regulated in many places and timing matters because maternity colonies can contain flightless young — stop and contact a licensed wildlife professional or local authority guidance before sealing anything.
A nest or den contains young: Removing the adults first can orphan the offspring and create odor, carcass, and insect problems — wait for proper removal timing or get help that can handle the whole sequence.
You smell a strong dead-animal odor: That often means a carcass is trapped in a wall, attic, or crawlspace — do not keep sealing blindly; locate the source before closing more openings.
The entry point is on a steep roof, chimney, or high fascia: A fall risk is not worth the repair — use a professional who has the right access equipment and can work safely at height.
You see an animal that appears sick, aggressive, or unusually active in daylight: This can indicate disease or abnormal behavior, including rabies exposure risk in some species — keep distance and call animal control or a wildlife professional.
The building has multiple entry points and you cannot inspect all of them: Partial exclusion often fails because the animal simply shifts routes — do not half-seal; finish the perimeter first or hire someone who can.
Those are not theoretical edge cases. They are the situations where a quick seal-up turns into a repair bill, a sanitation problem, or an exposure risk. If you are unsure, the cost of a wrong move is usually higher than the cost of waiting one day to identify the species and entry pattern correctly.
What are the most common exclusion mistakes?
The most common mistake is sealing only the visible hole. The consequence is simple: the animal finds another route, often a smaller one you missed. The correct alternative is a full perimeter inspection, including vents, roof transitions, pipe chases, and crawlspace openings.
Another mistake is using spray foam as the final barrier. Foam can fill voids, but it does not stand up to chewing or sustained clawing. The consequence is a reopened gap in days or weeks. The proper fix here is backing the repair with metal or heavy-gauge screening, then using foam only as filler where appropriate.
A third mistake is excluding before confirming the animals are out. That can trap them inside, push them into walls, or create a carcass problem later. The correct alternative is to watch for declining activity, use a one-way device when appropriate, and verify silence or absence before final closure.
A fourth mistake is ignoring the lower building envelope. People often focus on roof damage and miss foundation cracks, crawlspace vents, garage gaps, and utility penetrations. The consequence is repeated entry from a different side of the house. The right move is to inspect from top to bottom, because a 1/2-inch gap near a pipe can matter more than a dramatic hole up high.
A fifth mistake is using mesh that is too light or too large. Chicken wire is a common example: it looks protective, but many animals can bend it or work through it. The consequence is a false sense of security. The better choice is galvanized hardware cloth or sheet metal sized to the species and attachment point.
A sixth mistake is treating cleanup as optional. Droppings, urine, nesting material, and insulation damage can remain after the animal is gone. The consequence is odor, contamination, and pests that follow the first intrusion. The sensible alternative is to inspect and clean the affected area before calling the job finished.
When standard wildlife exclusion needs a different approach
Standard exclusion changes when the species, season, or structure changes. In a masonry building, for example, a 1/4-inch crack in mortar joints may matter less than an open vent, but roofline gaps and uncapped flues still need attention. In an older house with brittle trim, aggressive pulling and prying can create new openings, so repairs have to be gentler and often more extensive.
Season matters too. During nesting or maternity periods, sealing can trap young. That is why timing is part of the method, not an afterthought. If young are present, the exclusion plan may need to pause, or the opening may need to be monitored longer with a one-way device before final closure. A one-day fix sounds tidy; in practice, it can be wrong here.
Birds are different from mammals. A bird entry often involves vents, eaves, or gaps around signage and can require different screening angles and hole sizes. Mice and rats are different again: they exploit tiny service gaps and may need a combination of exclusion and sanitation because droppings and food attract repeat activity. For a rodent problem, closing the hole without removing the food source is a half-fix.
There are also cases where damage is the real issue. If wiring, ductwork, insulation, or framing is already compromised, exclusion alone is not enough. The structure has to be repaired after the entry is closed. That can mean replacing vent covers, re-nailing flashing, rebuilding trim, or correcting rot before resealing. I would choose that route over a quick cosmetic patch every time.
If the site is a commercial building, multi-unit property, or historic structure, the stakes rise because one overlooked access point can affect multiple units or damage original materials. The method still starts with exclusion, but the execution changes: more documentation, more material matching, and careful planning.