
 By Admin
Last updated: September 10, 2026
Key Takeaways
- Wildlife repair is one of those services where a polished sales pitch can hide a thin scope.
- Wildlife pressure changes with season, food source, and weather.
- Wildlife repair alone is not enough.
- You should repair after wildlife removal, and you should usually do more than seal the hole.
Quick Answer: For wildlife damage repair: what needs to be fixed after removal usually falls into 3 categories — the entry point, the contamination, and the damaged materials. In many homes, the work starts the same day as removal, and small repairs can take 2 to 6 hours, while larger attic or roof jobs can take 1 to 3 visits. I’m Dana Mercer, and I write about nuisance wildlife repair, exclusion, and property damage because the real question is rarely “Do I need repairs?” It’s “Which ones need doing now, and which can wait?”
Wildlife removal is only half the job. The mess left behind is the part that lingers — in the attic, crawl space, wall cavity, or roofline. This wildlife damage repair: what needs to be fixed after removal question is usually about scope, not just cost. I’m Dana Mercer, and I write about nuisance wildlife repair, exclusion, and property damage because the real question is rarely “Do I need repairs?” It’s “Which ones need doing now, and which can wait?”
What needs to be fixed after wildlife is removed?
Anything the animal used to get in, anything it soiled, and anything it damaged while nesting, chewing, or moving through the structure. That’s the short version. In practice, it usually means entry holes, torn insulation, contaminated materials, chewed wiring, damaged vents, and any section of roof, soffit, fascia, or ductwork that no longer seals correctly.
A cleanup-only approach misses the part that keeps causing trouble. If raccoons widened a soffit gap, bats slipped through a ridge cap, squirrels chewed a fascia board, or rodents packed an attic with droppings, the structure needs repair before the next season. One inch is enough for many rodents. And a raccoon? It can exploit a much larger opening once trim is loosened or rotted.
I’d handle the repair list in this order, and I’d ask a wildlife control professional or roofer to confirm it if the structure is old or the damage is hidden:
- Close the access point with material that matches the structure and resists the species involved.
- Remove contamination such as droppings, urine-soaked insulation, nesting material, and carcass odor sources.
- Fix secondary damage like wiring, duct insulation, vapor barriers, drywall, and soffits.
- Inspect for hidden issues behind the visible damage, especially in older homes and near roof penetrations.
Not cosmetic. Not really. If the attic still smells bad after the animal is gone, the job is incomplete. If you can see daylight around a vent, the exclusion failed. If the insulation looks matted or darkened, the cleanup may need to go deeper than a surface sweep. For cleanup standards, the CDC notes that droppings and nesting materials should be handled with care because they can spread contaminants, and NIOSH recommends wet methods and protective gear during cleanup.
What gets repaired first: the opening, the mess, or the broken parts?
The opening comes first. Always. If the entry point stays open, every other repair is temporary. After that, contamination comes before cosmetic patching because urine, feces, and nesting debris can soak into insulation and framing.
For most homes, the first pass should focus on:
- Roofline gaps
- Soffits and fascia
- Attic vents
- Chimney caps and flashing
- Crawl-space vents
- Utility penetrations
- Gaps around plumbing, cable, and HVAC lines
Material choice matters. Thin foam or loose filler is not a real exclusion fix for raccoons, squirrels, or persistent rodents. Galvanized steel hardware cloth, metal flashing, heavy-gauge screening, and properly fastened repair panels are the right class of materials for many entries. Wood alone is often not enough where chewing is part of the problem. For guidance on sealing and exclusion, see EPA rodent control guidance and CDC cleanup advice.
If the attic has visible feces or urine staining, I would not jump straight to new insulation without cleanup. Contaminated insulation can hold odor and attract scavengers. In many jobs, the sequence is removal, disinfection, sealing, then replacement of damaged insulation. If a contractor skips straight to patching the hole, that’s a warning sign. For building-envelope basics, HUD’s Healthy Homes guidance is a useful reference.
Climate and location change the picture. In colder places, attic bypasses and roof vents are a bigger winter concern because heat loss and snowmelt can make access points worse. In wetter regions, rotted fascia and softened trim make repeat intrusion more likely. In coastal areas, salt air shortens the life of exposed metal, so the repair choice should reflect that instead of using thin mesh that corrodes early.
Which repairs are usually just cosmetic, and which are structural?
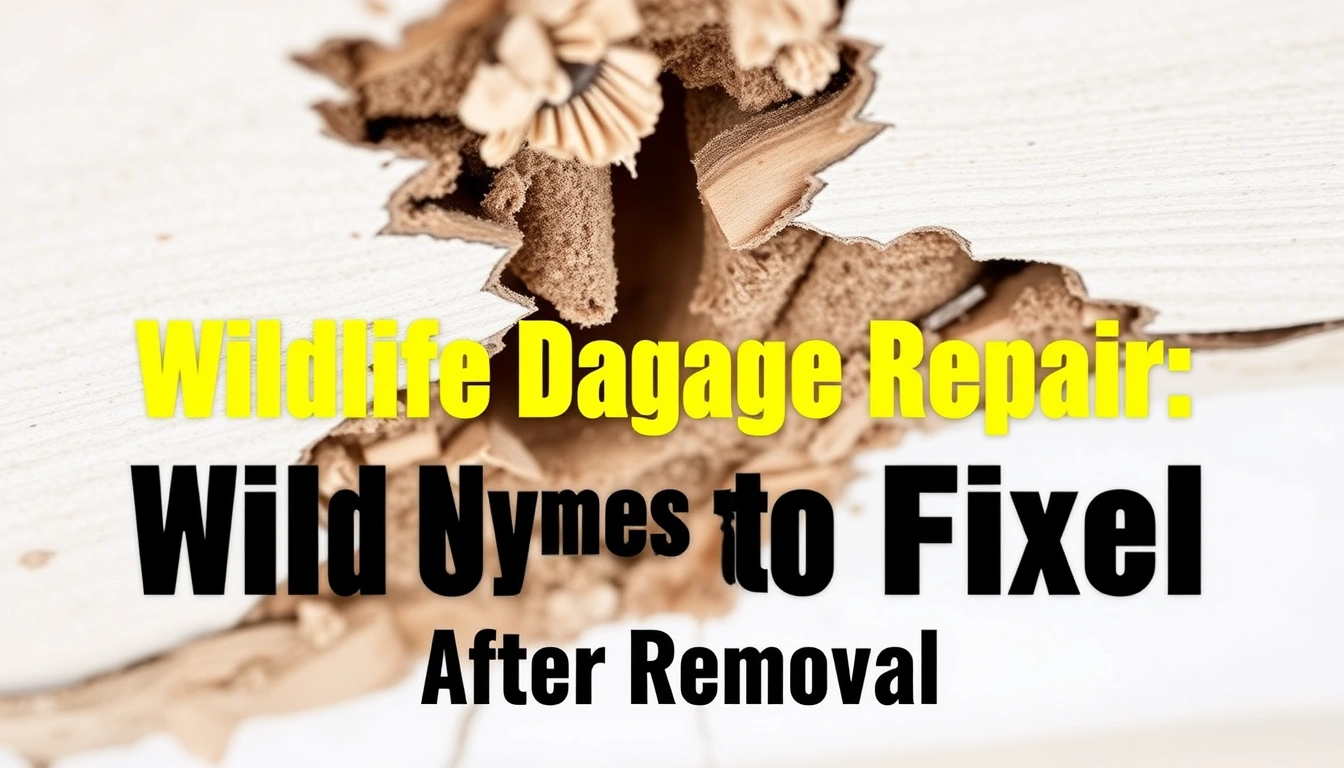
Structural work wins when the animal damaged wood, wiring, ductwork, or any part of the building envelope that affects safety or water entry. Cosmetic work is the paint, trim touch-up, and finish level stuff that can wait until the core problem is solved.
I’d separate the work this way:
Usually structural or functional
- Chewed electrical wiring
- Torn HVAC duct insulation
- Rotted fascia, soffit, or roof decking
- Broken roof vents or gable vents
- Damaged chimney caps or flashing
- Compromised insulation with contamination
- Holes in siding, subfloor, or crawl-space barriers
Usually cosmetic or finish-level
- Nail holes and small fastener marks
- Minor trim scuffs after a patch
- Paint touch-up after board replacement
- Drywall patching once the source of damage is fixed
The hidden damage is the trap. A squirrel problem in a finished attic can look small from the hallway and still involve chewed Romex, shredded insulation, and a ventilation path that now dumps warm moist air into the roof cavity. Ugly, yes. But it’s also a moisture and fire-risk issue, not just a nuisance issue.
If your repair quote treats all damage the same, ask what is behind the visible stain or hole, and consider a second opinion from a roofer, electrician, or licensed wildlife contractor if the answer is unclear. A good contractor should be able to tell you when a board can be patched, when it should be replaced, and when the entire section needs to come out.
One practical rule: if a repair affects fire, water, or air sealing, it is not optional. If it only affects appearance, you can usually schedule it after the exclusion and cleanup are done.
How much does wildlife damage repair usually cost, and what changes the price?
Small exclusion-and-patch jobs may stay modest, while contaminated attic repairs, insulation replacement, and roof work can push the total much higher. I can’t responsibly give you a universal price because the cost depends on species, access, square footage, contamination level, and whether a roofer, electrician, or insulation crew has to join the job.
What changes the price most:
- Species involved: squirrels and raccoons often cause chewing and entry damage; bats more often trigger contamination and exclusion complexity; rodents often mean scattered droppings and insulation damage.
- Location of the damage: attic and roofline work is usually harder than a ground-level crawl-space repair.
- Amount of contamination: a small nesting spot is not the same as a full attic with widespread droppings.
- Material replacement: hardware cloth and flashing are different from replacing soffit panels or sections of decking.
- Code or safety needs: electrical repair, mold-related remediation, and structural framing replacement cost more because they require licensed trades in many areas.
A short repair might take part of a day if the hole is obvious and the cleanup is light. A bigger job can stretch to a second visit or longer if exclusion work, sanitation, and insulation replacement are all involved. If a contractor says the job is done in one quick sweep without showing you what was sealed, cleaned, and replaced, I’d be cautious.
The honest question is not “What does wildlife repair cost?” It is “What is included in the quote?” Get line items for exclusion, sanitation, materials, labor, and any trade referral such as roofing or electrical. That makes it easier to compare bids and harder for a vague estimate to hide incomplete work.
What should a good repair contractor inspect before giving a quote?
A good contractor should inspect the entry point, the surrounding structure, and the damage pattern before quoting. That means looking inside the attic or crawl space, not just at the outside hole.
I’d expect an inspection to cover at least these items:
- Point of entry and any secondary openings
- Roofline, ridge vents, soffits, and gable vents
- Insulation condition and contamination level
- Wiring, ductwork, and plumbing penetrations
- Framing members for chew marks or moisture damage
- Signs of active moisture, mold, or rot
- Odor sources, including hidden nesting material
This is where a repair quote becomes useful or useless. A quote that only says “seal entry” is not enough if the attic has droppings, shredded fiberglass, or damaged vent screening. A better quote identifies the repair category: exclusion only, cleanup only, cleanup plus insulation replacement, or cleanup plus construction repair.
Ask these questions before you hire:
- What species was involved, and does your repair method match it?
- What do you plan to seal with: metal, flashing, screening, or foam?
- What will you do with contaminated insulation or nesting debris?
- Do you handle roof, electrical, or drywall repairs yourself, or refer them out?
- What happens if you find a second entry point during the job?
If the answer to any of those is vague, keep shopping. Wildlife repair is one of those services where a polished sales pitch can hide a thin scope. The best bids usually read like a plan, not a promise, because they show the steps, the materials, and the limits up front.
What does bad wildlife repair look like?
Bad repair usually looks neat for a week and fails when weather or pressure returns. The most common failure is a hole that was stuffed or covered instead of truly closed.
Red flags I would not ignore:
- Foam used where metal or solid patching should be
- A vent screen that is stapled loosely or can be peeled back by hand
- Fresh paint over rotten wood
- No cleanup of droppings, urine staining, or nesting material
- No mention of insulation replacement after contamination
- No attic or crawl-space inspection before quoting
- A patch that leaves nearby gaps open
The consequence of a bad job is not just another callout fee. It can mean repeat intrusion, odor, stained drywall, rodent pressure in living spaces, or moisture trapped inside a repaired cavity. Chewed wiring or failed ventilation can also create a safety issue the owner may not notice until later.
I’d also watch for contractors who promise a “permanent” fix without explaining the structure. Wildlife pressure changes with season, food source, and weather. No honest repair is magic. A contractor’s job is to close the entry properly, remove the attractant, and repair the damage with materials that fit the species and the building.
A job is probably bad if you still smell it, still see droppings, still hear movement, or can still find daylight where the animal got in.
What gets fixed first in a real-world repair plan?
The opening and any safety damage come first, then contamination, then finish work. That order saves the most money and prevents repeat entry.
If I were choosing between two contractors, I’d favor the one who starts with exclusion and sanitation over the one who starts with cosmetic patching. The first is trying to solve the cause. The second is trying to make the stain disappear.
Here is the practical comparison:
| Criteria | Exclusion-first repair | Cleanup-only repair | Winner for |
|---|---|---|---|
| Prevents re-entry | Seals access points with proper materials | Leaves opening risk unchanged | Active infestation or seasonal pressure |
| Addresses odor | Can include sanitation and debris removal | Often leaves odor source behind | Attic/crawl-space contamination |
| Handles hidden damage | More likely to inspect framing and vents | Often stops at visible mess | Chewing, nesting, or roofline damage |
| Upfront cost | Usually higher because it is more complete | Usually lower at first | Tight budget with no structural damage |
| Long-term value | Better if the entry point is still vulnerable | Poor if animals can return | Repeated wildlife problems |
| Safety | Can involve wiring, insulation, and moisture checks | May ignore electrical or mold issues | Rodent or squirrel damage |
| Speed | May take longer because it’s more thorough | Can be fast but incomplete | Emergency cleanup only |
| Best use case | Real repair after removal | Temporary tidying or nonrecurring debris | Minor, isolated contamination |
My recommendation is simple: choose exclusion-first repair unless the damage is truly superficial and the structure is already sealed. Cleanup-only is wrong for repeated intrusions, roofline holes, droppings in insulation, or any case involving wiring or water damage.
When should you call someone else instead?
You should call someone else when the problem has moved beyond wildlife repair into roofing, electrical, mold, or structural work. That is not a failure; it is the right scope.
Here are the exception scenarios where the usual verdict changes:
- The animal is gone, but the attic wiring is chewed. Call an electrician first or alongside the repair contractor. Wildlife repair alone is not enough.
- The roof decking or fascia is rotten. A roofer or carpenter should handle the damaged wood before exclusion is completed.
- There is widespread droppings or strong ammonia odor in insulation. Cleanup and possible insulation replacement should be part of the plan, not an afterthought.
- The gap is small and the materials are already sound. A focused exclusion repair may be enough, especially if the intrusion was a one-time event.
If the issue includes visible mold, sagging drywall, or sagging ceiling material, I would slow down and bring in the right licensed trade before patching the wildlife entry. Pushing ahead with a quick cover-up can trap the real problem.
Should I repair after wildlife removal, or just seal the hole?
You should repair after wildlife removal, and you should usually do more than seal the hole. The right answer is to close the entry, clean the contamination, and fix whatever the animal damaged in the process.
Choose exclusion-first repair if the animal got into an attic, crawl space, roofline, or wall cavity and left droppings, nesting material, chewed material, or odor. Choose a cleanup-only approach only if the intrusion was minor, there is no structural damage, and the area is already properly sealed. Neither is enough if you have rotten wood, chewed wiring, mold, or a roof leak.
How long should wildlife damage repair take?
Small repairs can be done in a single visit. Bigger attic or roofline jobs often take more than one appointment. The timeline depends on whether the contractor is only sealing an opening or also removing contaminated insulation, replacing vent materials, and coordinating another trade. Because of that, a 2024 attic repair may take 2 hours or 2 days depending on access and contamination.
What paperwork or proof should I ask for?
Ask for a written scope that lists the entry point, the repair method, what was cleaned, and what was replaced. If another trade is involved, ask for that referral or invoice detail too. A vague “wildlife proofed” note is not enough if the same opening can be reopened by weather or chewing.