
 By Admin
Last updated: September 10, 2026
Key Takeaways
- Run ventilation and recheck after 24 to 72 hours.
- Patch curing and odor reassessment usually take another 24 to 72 hours.
- The goal is to narrow the source to within 12 to 18 inches, not to tear open half the room.
- For a simple, localized carcass in an accessible attic or wall opening, the work can take 1 to 3 hours, plus drying time.
- For how to get rid dead animal smell walls, attics, vents, the key is source removal, cleanup, and sealing.
A smell in a wall, attic, or vent usually will not leave on its own. Not by magic. Not by air freshener. The real fix is finding the source, pulling out any remains and contaminated material, cleaning the surface that absorbed the odor, and then sealing or replacing what cannot be cleaned. This guide on how to get rid dead animal smell walls, attics, vents is for a homeowner or tenant who already suspects a dead mouse, rat, squirrel, bird, or raccoon is inside a building cavity and wants the odor gone without making the problem worse.
Who this applies to, and what I assume you already know
Use this only when the smell is localized, stubborn, and gets stronger in warm weather or when the furnace, air handler, or attic gets hot. That pattern usually means a carcass or contaminated nesting material is trapped in a closed space: wall void, attic insulation, crawlspace rim joist, return-air chase, or ductwork. I’m assuming you have basic tools, can use a ladder safely, and can remove a vent cover or access panel. I’m also assuming you understand that dead-animal odor is not just “a smell”; it is decomposition plus grease, urine, feces, and bacteria soaked into porous material.
DIY makes sense only when the animal is small enough to remove safely, the smell is limited to one area, and there is a clear access point. But if the odor is spreading through multiple rooms, if there is visible sewage-like contamination from a large animal, or if insulation, drywall, or duct lining is soaked through, the job stops being simple odor removal and becomes removal plus rebuild. For those cases, a pest-control company or remediation contractor is the right tool, not another deodorizer.
I would not treat this as a “wait it out” problem. According to the CDC’s guidance on rodent cleanup and pest control, decomposition and contamination should be handled promptly, not left to air out. In a warm attic, odor can linger for weeks or months. In a return vent, the HVAC system can distribute it every time it runs. The sooner you locate the source, the less material you will have to discard, and the less likely you are to chase the smell with temporary cover-ups.
How do I find the dead animal smell in a wall, attic, or vent?
Track the odor gradient, check the most likely entry points, and use access openings before you start cutting large holes. The target is within 12 to 18 inches. Not a full-wall demolition.
Start with the smell map. Stand in the room when the HVAC is on and again when it is off. If the odor gets stronger with airflow, check the return grille, supply registers, and any duct chase. If it gets stronger in heat, inspect the attic above the warmest ceiling section and any wall that backs onto plumbing, soffits, or roof eaves. A carcass near an exterior wall often smells worst on the side of the wall closest to the nest.
Use your nose and your hands together. Feel for unusually warm or damp drywall, discolored ceiling paint, or staining around vents. In an attic, look for disturbed insulation, droppings, greasy rub marks, shredded nesting, and gnaw holes around wiring or pipe penetrations. A moisture meter can help if you already own one; a reading that is noticeably higher than the surrounding drywall or wood is a clue, not proof. A borescope or inspection camera inserted through a 1/2-inch hole can confirm a carcass or nesting pocket before you cut a larger opening.
How do I get rid of dead animal smell in walls, attics, and vents?
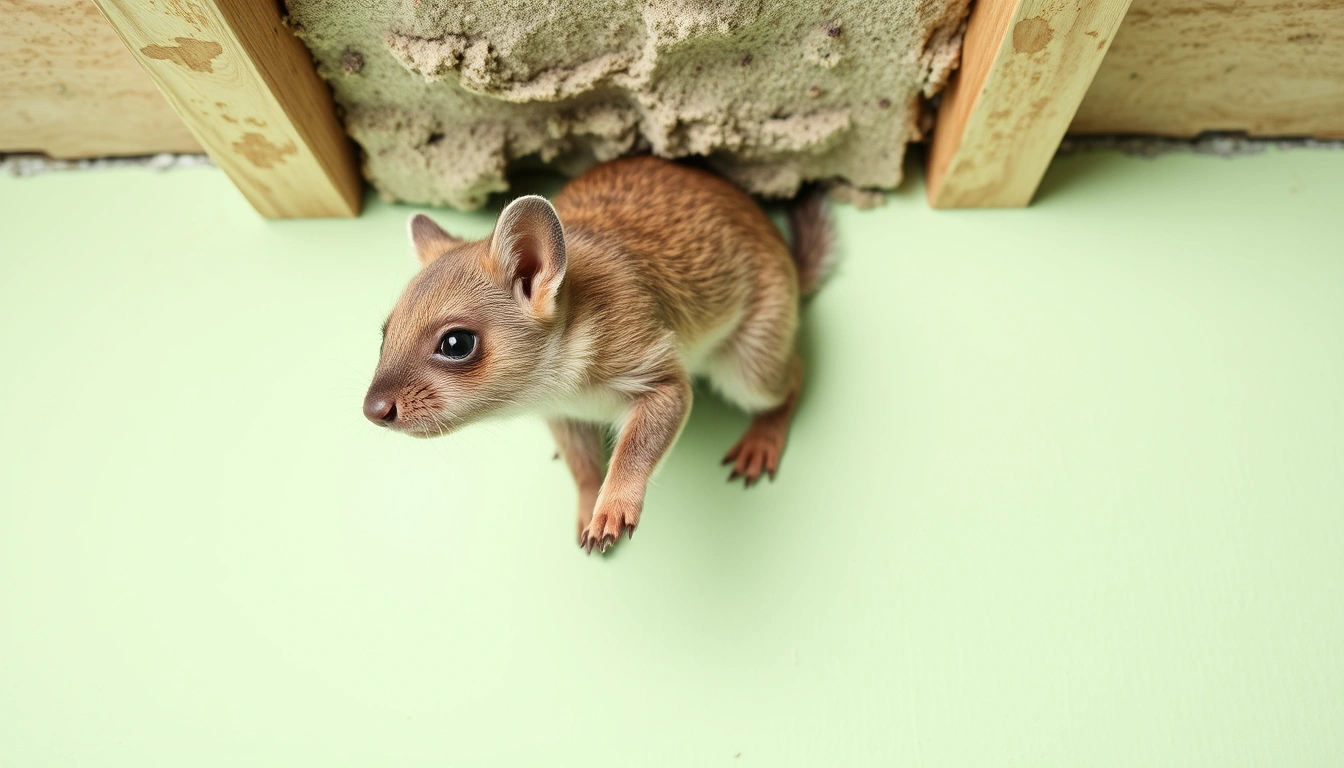
Remove the source. Then clean the contaminated material. Seal what remains. That sequence keeps the demolition small, and that matters.
- Shut off the HVAC fan and isolate the area. Turn the system off at the thermostat and, if possible, at the breaker before opening vents or return plenums. Verify that no air is moving through the odor source. If the smell gets stronger as soon as the system starts, the ductwork or return chase is part of the problem.
- Open the smallest access that can confirm the source. Remove a vent cover, attic access panel, or a 1/2- to 1-inch inspection hole near the suspected spot. Verify with a flashlight or borescope whether there is a carcass, nesting, or wet insulation. If you find only odor and no evidence, widen the search before cutting a large opening.
- Remove the carcass and all visible nesting material. Use gloves, a mask rated at least N95, and sealed bags. Bag the remains immediately and place them outside in a lidded trash container according to local rules. Verify that no soft tissue, fur, feathers, or nest material remains in the cavity. If the material is wedged beyond reach or you cannot extract it without enlarging the opening, stop and reassess access.
- Discard contaminated porous material. Remove insulation, duct liner, cardboard, or drywall that absorbed fluids. A good rule is to replace any porous material that is visibly contaminated or still smells after drying. Verify that the underlying wood, metal, or framing is exposed. If odor persists after the porous material is gone, the substrate is still contaminated.
- Clean the hard surfaces with detergent first. Wash wood, metal, and masonry with warm water and a detergent solution, then wipe dry. Verify that grease and residue are gone; sanitizer does not work well through grime. If you skip cleaning and go straight to disinfecting, odor molecules remain trapped in the dirt.
- Apply an odor-control treatment suited to the surface. On clean, dry wood or framing, consult a pest-control or remediation professional if the contamination is extensive; otherwise use an enzymatic odor treatment or an odor-blocking sealer where appropriate, following the product label and local guidance. On metal ducts or plenums, clean thoroughly and then seal access points. Verify that the area is dry before sealing. If the surface is still damp, you trap the smell and can create a mold problem.
- Seal the cavity and stop the entry point. Close the access hole with drywall patch, sheet metal, foil-faced tape on approved duct surfaces, or another suitable repair. Then seal the animal entry point on the exterior with materials that resist chewing, such as metal flashing or hardware cloth. Verify that no daylight or airflow remains at the entry. If you only cover the smell source and leave the opening, another animal can replace the first one.
- Run ventilation and recheck after 24 to 72 hours. Restore HVAC operation, air out the space, and smell-test again at the same time of day. Verify that the odor is falling, not just masked. If the smell returns when humidity rises or heat builds, the source was not fully removed or the contaminated material is still present.
There is no honest shortcut here. Ozone machines and heavy fragrance can reduce the perceived odor in the air, but they do not solve a dead animal hidden in insulation, and ozone can be harmful in occupied spaces. I would only consider them for empty, unoccupied spaces under controlled conditions, and not as a first-line fix.
What if the smell is in the HVAC ductwork?
If the smell is in the ductwork, clean the duct interior only after you confirm there is no carcass in the air handler, return plenum, or a disconnected flex-duct run. The odor often comes from the return side, not the visible supply register.
Start at the grille and work upstream. Remove the register cover, inspect the first 2 to 3 feet of duct with a light, and check the air handler cabinet, condensate area, and return plenum. If the duct is lined with fiberboard or internal insulation, that material can absorb decomposition odor and may need replacement if the contamination is heavy. Metal duct is easier to salvage than duct liner.
Do not try to push a carcass deeper or vacuum it blindly. That usually spreads contamination and can puncture flexible duct. If the dead animal is beyond a bend or deep in a branch run, it is often better to open the duct at an accessible section, remove the material, clean the inside surfaces, and then reseal the joint with approved HVAC tape or mastic. If you see rodent gnawing, also inspect nearby ducts and the air handler cabinet for entry holes and droppings.
A technician’s term that matters here is return air plenum: the main cavity that brings room air back to the furnace or air handler. If the smell is strongest at returns, that plenum may be contaminated even when the visible duct run looks fine. I would not ignore the blower compartment either; dust there can hold odor, and if the fan has been running, it can distribute the smell throughout the house for days.
When should I stop trying to fix it myself?
Stop when the source is hidden, the contamination is larger than a small cavity, or the odor is tied to a system that moves air through the whole house.
Large animal or unknown animal type: A raccoon, opossum, or large bird in a wall or attic means more tissue, more fluid, and more cleanup — stop opening random areas and call a pest-removal or remediation pro.
Smell coming through multiple vents or floors: That points to duct contamination, a return chase, or a shared cavity — stop guessing at one room and inspect the HVAC system or have it inspected.
Visible mold, wet insulation, or a roof leak: Moisture changes the job from odor removal to material replacement — fix the leak and replace contaminated insulation before any deodorizing.
Animal remains in sealed foam, masonry, or inaccessible chase: If you cannot physically remove the source without major demolition, the odor will keep coming back — cut a plan for targeted removal or bring in a contractor.
Persistent odor after porous material is replaced: That means the substrate, framing, or duct liner still holds residue — stop adding deodorizers and have the cavity or duct professionally cleaned and sealed.
Signs of infestation are still active: Droppings, fresh gnawing, or scratching means another animal can die in the same place — remove the pest problem first or the smell will return.
On a practical level, if you have already spent 4 to 6 hours chasing the odor and you still cannot localize it, the next step is usually a borescope inspection or professional help, not more spray.
The mistakes people make, and what they cost them
The most common mistake is covering the smell instead of removing the source. Scented sprays, candles, and foggers may buy you a few hours, but they do nothing to the carcass or the saturated insulation. The cost is time and repeated re-odorization.
Another mistake is sealing the opening before the cavity is clean and dry. That traps odor and moisture. In a wall, that can leave you with a sour smell and, in some cases, mold growth. The correct move is to remove contamination first, then seal.
A third mistake is overcutting drywall. People make a huge access hole when a small inspection hole would have told them where the dead animal is. Start with a 1/2-inch to 1-inch inspection hole unless the evidence clearly says otherwise.
A fourth mistake is ignoring the HVAC system. If a dead mouse was in a return or near a blower cabinet, the system can carry odor to rooms that are otherwise clean. The fix is to inspect the air handler, returns, and nearby duct liner, not just the room where the smell is strongest.
A fifth mistake is cleaning porous insulation as if it were a hard surface. Wetting fiberglass or cellulose may make the smell worse and spread contamination. If insulation is contaminated, removal is usually the right answer. Trying to save it can cost more in labor than replacement.
A sixth mistake is skipping the entry-point repair outside. If you do not seal the gap at the soffit, roof edge, pipe chase, or foundation crack, another animal can get in. Hardware cloth, metal flashing, and properly sealed penetrations matter more than odor products.
What changes in attics, walls, and vents?
In an attic, insulation is the main trap. If the carcass or fluids soaked fiberglass or cellulose, removal of the affected section is usually necessary. Attics also heat up and amplify odor, so a small source can smell worse than it looks. If the attic is hot, vent it during cleanup and wear proper respiratory protection.
In a wall, access is the challenge. I would favor the smallest diagnostic opening that gives a clear line of sight, then patch once the source is removed. If the carcass is between studs and there is no clean access, a plumber’s camera or borescope can save you from cutting the wrong bay. Wallpaper, texture, and multiple paint layers can also hold residual odor, so the patch may need priming with an odor-blocking sealer before repainting.
In vents and ducts, airflow is the issue. Clean the system with the fan off, then check whether the odor returns when the blower starts. Flexible duct, fiberboard duct, and duct liner are the weak spots; metal duct is easier to restore. If the smell is in return air, treat the return path as seriously as the visible room register.
How long does it take, and what does success look like?
For a simple, localized carcass in an accessible attic or wall opening, the work can take 1 to 3 hours, plus drying time. If insulation must be removed or a duct branch needs opening and resealing, it can take most of a day. Patch curing and odor reassessment usually take another 24 to 72 hours.
A good result is not “I don’t smell it because I sprayed something.” A good result is that the smell does not return when the HVAC runs, the room warms up, or humidity rises. The cavity is dry, the porous material that absorbed the odor is gone, and the entry point is sealed against re-entry. If you still catch the odor only at a certain temperature or when the furnace starts, the source likely remains in the wall, attic, or vent path and needs another inspection.