
 By Admin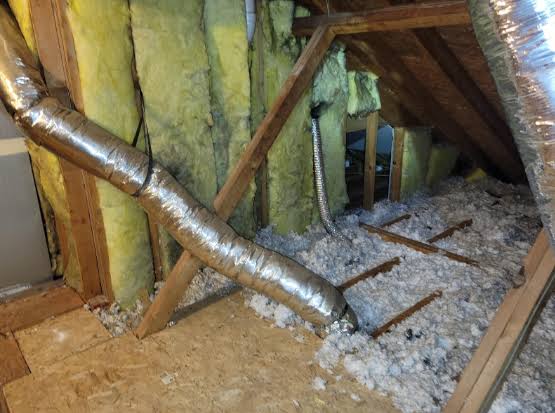
Last updated: September 10, 2026
Key Takeaways
- Ten minutes is often enough to set up correctly, and that small delay can keep a messy patch from becoming an exposure problem.
- Before you step inside, open an access hatch or exterior vent for 15 to 30 minutes; just don’t send a rush of air across the droppings.
- Wet removal with a sprayer and disposable towels is the better route, even if it costs you another 20 minutes.
- Need to scrape hard? Stop, re-wet, and try again. Dry scraping spreads contamination.
Table of Contents
- What to know before you start
- What you need before you start
- How do I clean animal droppings without spreading dust?
- What should I check before I touch the first pile?
- When should I stop and call someone else?
- The mistakes people make in attic and crawl space cleanup
- What changes in a crawl space or unfinished attic?
- How long does cleanup take, and what does “done” look like?
- Quick answers to the questions people ask most
Need to know how to clean up animal droppings in an attic or crawl space? Start by keeping dust low, keeping your face out of the area, and hauling waste out with a wet method and sealed bags. This guide explains how to clean up animal droppings in an attic or crawl space for a small to moderate mess, with the goal of controlling exposure, not just making the area look tidy. I’m writing for a homeowner who can get into the space safely and knows the droppings are old enough to be dry but not part of a major contamination event.
This is not broom territory. Dry sweeping, leaf blowers, and shop vacs with no HEPA filter can throw particles into the air. The job is to hold down dust, collect the waste, clean the touched surfaces, and keep rodents, bats, raccoons, or birds from coming back. Large piles, a strong ammonia odor, damaged insulation, or signs of bat guano in a living area? Then how to clean up animal droppings in an attic or crawl space may require a licensed wildlife or biohazard contractor rather than a DIY approach.
What you need before you start
Right gear first. A way to wet the waste. And a plan for sealing debris before you touch anything. I would not begin without an N95 respirator or better, disposable gloves, eye protection, heavy trash bags, paper towels or disposable rags, a spray bottle or pump sprayer, and a disinfectant labeled for the job on the package. A common household bleach solution is often used on hard, nonporous surfaces, but I’d avoid improvising ratios in an enclosed space unless the label gives the mix clearly. For porous framing or soil in a crawl space, wet removal matters more than scrubbing with chemistry.
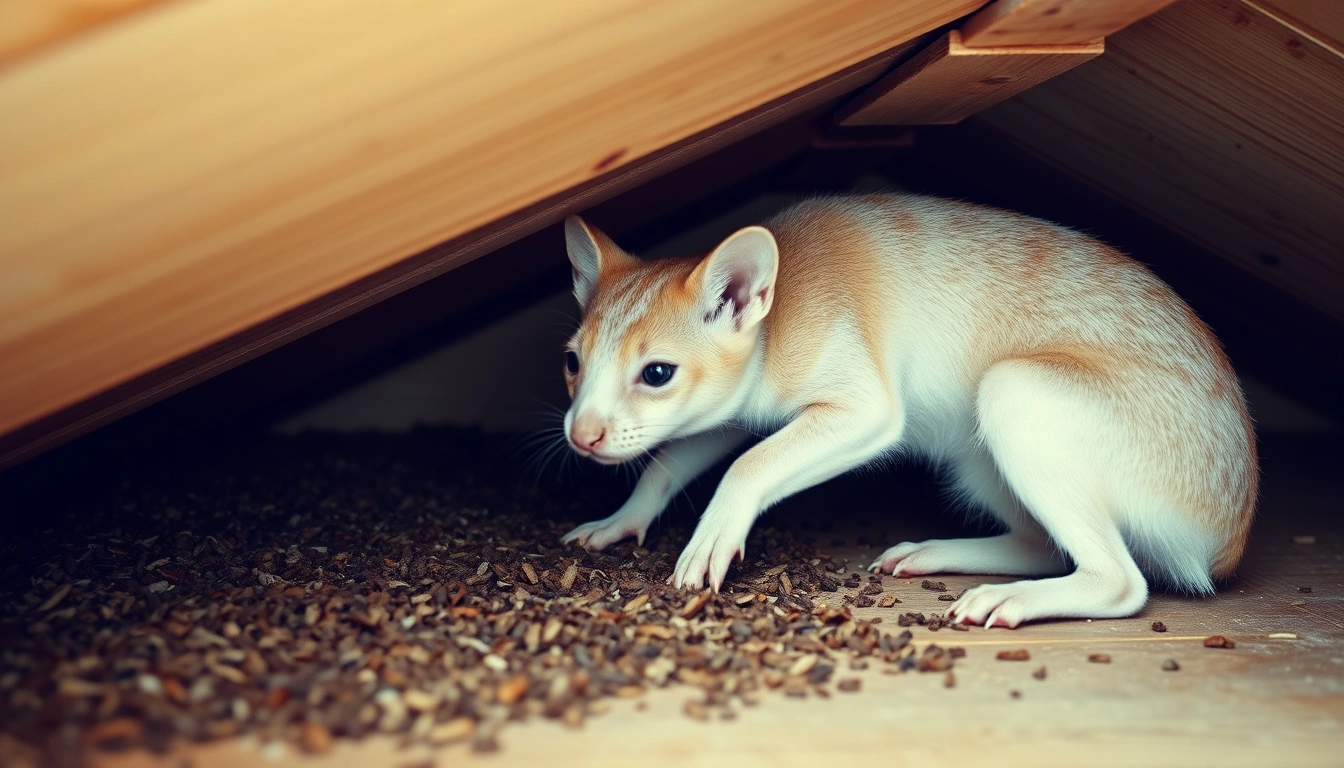
Assume rodents unless you have a clear reason not to. Rat and mouse droppings are typically dark, rice-sized pellets; bat guano is smaller and can pile like dry grains; raccoon latrines are larger and often concentrated in one spot. The species matters because the cleanup method changes. Bat droppings, in particular, can raise concern about histoplasmosis, a fungal illness associated with disturbed guano, so I would be more cautious there. The CDC has guidance on rodent cleanup, and OSHA has general respiratory and sanitation guidance for contaminated spaces; both are worth reading before you go in.
See asbestos insulation, widespread mold, standing sewage, or electrical damage? Stop and get the problem assessed first. Cleanup isn’t just about picking up droppings; it’s about not making a bad space worse. Small job, big consequences.
How do I clean animal droppings without spreading dust?
Wet them first. Pick them up with disposable materials. Bag the waste in layers, then disinfect the area before you leave. The order matters more than the cleaner brand.
- Block the area and ventilate carefully. Open an access hatch or exterior vent for 15 to 30 minutes before you enter, but do not create a blast of air across the droppings. Check that you can work without stirring visible dust. If the space is already dusty or you smell strong ammonia, the problem is larger than a normal cleanup.
- Put on PPE before touching anything. Wear an N95 respirator, snug gloves, long sleeves, eye protection, and disposable coveralls if the contamination is heavy. Check for a tight respirator seal and closed cuffs at wrists and ankles. Street clothes won’t cut it here; if you cannot keep your skin covered, expect contamination on clothes and do not proceed.
- Lightly mist the droppings and nearby dust. Use enough liquid to dampen, not soak, a 2- to 3-foot work area. Check that the surface looks wet but does not drip into insulation or joists. If the material clumps and still breaks apart into dust when touched, it is not wet enough.
- Pick up the waste with towels or a scoop. Lift droppings, nesting material, and dead insects into a lined trash bag. Check that you are not grinding material into wood or insulation. If you need to scrape hard, stop and re-wet; scraping dry residue is how contamination spreads.
- Seal the waste in double bags. Tie off the first bag, place it inside a second bag, and seal that one too. Check that each bag closes without overfilling; a bag that bulges or tears needs a third bag or a smaller load. If the bag leaks, assume the exterior is contaminated and wipe it before moving it.
- Clean the surface after the solids are gone. Wipe hard surfaces with detergent and water first, then apply a disinfectant that matches the surface and label instructions. For porous wood, focus on removing residue rather than soaking the timber. Check that the surface is free of visible droppings and crusted material. If staining, odor, or residue remains after two passes, the material may need replacement.
- Remove contaminated insulation or nesting material if it is loose and accessible. Bag small amounts by hand; for larger areas, a contractor with a HEPA-equipped setup is safer. Check that the insulation is no longer harboring nests or pellets. If the insulation is compressed, soaked, or contaminated over a wide area, cleaning it in place is usually the wrong move.
- Wash hands, tools, and the route out. Remove gloves last, wash exposed skin with soap and water for at least 20 seconds, and wipe any surfaces you touched on the way out. Check that your clothing goes straight into a bag or laundry bin. If you sneezed, coughed, or stirred visible dust during the job, take the exposure seriously, and if symptoms develop or the dust cloud was significant, consult a professional or medical provider.
A good result is plain: no visible droppings, no nesting debris left in corners, no loose residue on joists or floors, and no smell of urine stronger than the normal odor of the space. A bad result is obvious too—dust in the air, bag tears, broken pellets ground into wood, or droppings still showing up after cleanup because the animals are still inside.
What should I check before I touch the first pile?
Check the waste, check the animal, and check the space. About 10 minutes here can save you from a mess that turns into an exposure problem.
First, look at amount and location. A handful of pellets on open framing is one thing. A latrine pile under a known nest site, or droppings spread across several bays, suggests active occupancy and a larger cleanup. If droppings are mixed with shredded insulation, seed husks, or nesting material, the cleanup is not just waste pickup; it is habitat removal.
Second, identify the likely animal. Mouse droppings are small and pointed. Rat droppings are larger and more blunt. Bat guano is crumbly and often accumulates in piles below roosting spots. Raccoon droppings are much larger and can contain parasite eggs that are especially concerning in attic latrines. Suspect raccoon waste? Stop and get a wildlife professional involved; raccoon cleanup in an attic is not the same as mouse cleanup in a crawl space.
Third, assess the surface. Concrete crawl space floors are easier to disinfect than dusty wood subfloors or fiberglass insulation. Plywood, OSB, and open insulation are porous and hold contamination. The more porous the material, the less useful a hard scrub becomes. You may need removal rather than cleaning. That’s the awkward truth.
Fourth, check for signs of active entry. Gnaw marks, rub marks along joists, droppings that look fresh, or a damaged vent screen mean the animals may still be coming and going. If you clean first and exclude later, you can end up doing the job twice.
Fifth, check your access and exit path. A 18-inch crawl opening or a steep attic ladder changes the job. If you cannot carry out sealed bags without touching dusty surfaces, the setup is too cramped for a safe DIY cleanup. That is not a failure; it is a sign to change the plan.
When should I stop and call someone else?
Stop when the cleanup crosses from household waste removal into a contamination, wildlife, or structural problem. These are the situations that change the answer:
Bat guano is piled heavily or the roost is active: disturbed guano can spread spores and dust — leave the space and use a wildlife or environmental cleanup contractor, especially if the attic is finished or partially finished.
You see raccoon latrine material in one spot: raccoon droppings can carry parasite risks — do not scoop it casually; contact a licensed wildlife remover or biohazard service.
Droppings cover more than one small area or the insulation is saturated: the contamination is beyond spot cleanup — plan for professional removal of insulation and contaminated debris.
You find dead animals, maggots, or heavy insect activity: decomposition changes the exposure risk and the odor load — stop, ventilate, and arrange specialized removal.
The space contains mold, asbestos, or sewage damage: multiple hazards overlap — do not combine them into a single DIY project; each hazard needs its own control method.
You cannot work without dusting the area or crawling through loose material: your access is too poor for safe cleanup — the correct response is better access planning, not forcing the job.
You have asthma, immune suppression, or a history of respiratory sensitivity: the exposure cost is higher — if you are not fully confident in the containment and PPE, I would not do the cleanup yourself.
A professional is also the right answer if the source of the droppings is still active. Cleaning without exclusion just makes room for the next pile.
The mistakes people make in attic and crawl space cleanup
Dry sweeping is the big one. It turns droppings, urine salts, and nesting dust into airborne particles. Wet removal with a sprayer and disposable towels is the better choice, even if it takes an extra 20 minutes.
A regular vacuum is another bad call. A non-HEPA vacuum can exhaust fine particles back into the room, and the hose becomes contaminated too. Better to use a HEPA-filtered unit made for hazardous dust, or hand pickup for small jobs.
People also over-wet the area. Soaking insulation, plywood seams, or crawl space soil can create runoff, spread contamination, or make mold more likely. Mist to dampen, then wipe. If liquid beads and runs, you used too much.
Then there’s the mix-up between animals and methods. Mouse droppings, bat guano, and raccoon latrines are not interchangeable. A method that is acceptable for a handful of mouse pellets can be too casual for bat or raccoon waste. Identify the source before you clean. Otherwise the math stops working fast.
A fifth mistake is cleaning but not excluding. If an attic vent, soffit gap, chimney chase, or crawl space opening stays open, the cleanup only resets the space for another infestation. Seal entry points after sanitation, not before you know what entered.
Finally, people throw away contaminated debris in thin kitchen bags. Those tear, leak, and contaminate the path out of the house. Use double-bagging and keep the load under what the bag can hold comfortably. A bag that is only half full is safer than one that barely closes.
What changes in a crawl space or unfinished attic?
The standard method needs adjustment when the space is tight, dusty, insulated, or damp. In a crawl space, soil and low clearance make dust control harder, so I would use shorter working sessions, a kneeling board if needed, and heavier emphasis on sealed removal rather than scrubbing. If the floor is bare soil, do not try to “sanitize” the dirt; remove droppings and contaminated nesting material, then fix the entry source and manage moisture.
An unfinished attic with blown-in insulation is a different animal. The insulation can trap pellets and odor. Light contamination near a joist can be picked out by hand. Widespread contamination in insulation is different. If more than a small patch is affected, replacement is usually cleaner than trying to sift it. That is especially true around bat roosts, where the guano can work deep into loose fill.
If the space is cold and the waste is frozen or hardened, let it warm only enough to reduce brittleness, then mist and remove it. Hard pellets that crumble in place are a dust problem, so how to clean up animal droppings in an attic or crawl space changes when the waste turns brittle.
Fresh droppings or wet urine mean the source is active, so treat the area as more than a cleanup. The longer-term answer is exclusion, trapping, or wildlife removal. And if the contamination sits below an HVAC return, duct chase, or attic fan, I’d be even more careful because air movement can spread particles through the house.
How long does cleanup take, and what does “done” look like?
A small cleanup can take 30 to 90 minutes; a larger attic or crawl space job can take half a day once you include setup, disposal, and wiping down the path out. Spending more time on containment at the start usually saves you from chasing dust later. Worth it.
“Done” means four things. First, there are no visible droppings, nesting clumps, or dead insects in the target area. Second, the path out is clean, including your gloves, tools, and any ladder rungs or hatch edges you touched. Third, the source of entry is identified so it can be sealed. Fourth, the smell is no longer a sharp urine odor, though old wood or soil may still carry a faint trace.
I would not call the job finished if you cleaned around an active entry hole. I also would not call it finished if the insulation still has scattered pellets you can see from the access point. If the job leaves you guessing, it probably needs a second pass.
Quick answers to the questions people ask most
Can I vacuum animal droppings out of an attic?
Only if the vacuum is HEPA-filtered and used with care; a regular shop vac is the wrong tool for dry droppings.
Can I use bleach on hard surfaces?
Yes, if the label allows it and the surface is nonporous; follow the product instructions rather than mixing guesses in a confined space.
Do I need to disinfect soil?
No; in a crawl space, remove the droppings and contaminated nesting material, then address the source and moisture.
When should I hire a pro?
If the contamination is heavy, the droppings are fresh or wet, the animal is not identified, or you suspect bat or raccoon waste, a professional is the safer choice.